Affinity Workspace
Introduction
Affinity Workspace is a module within the Affinity system that allows you to collaborate with your clients inside a shared workspace area. The workspace exposes a number of useful tools for requesting files and documentation from your client along with a simple messaging system for corresponding on various matters.
What can the Workspace area be used for?
When we developed these tools we wanted the workspace to be flexible enough to be used for a wide range of accountancy related jobs. Currently a workspace can be created to facilitate the following jobs:
- Year end limited company accounts preparation
- Self assessment tax returns
- Partnership accounts and tax return
Future iterations of the Workspace module will allow for custom services to be established.
Creating a new Workspace
You can access the Workspace area from the left hand menu on your main dashboard, or you can create a new Workspace from the profile options menu on the dashboard or the profile detail screen. The Workspace overview screen will show you all your active and completed cases. Click the green button to create a new Workspace.
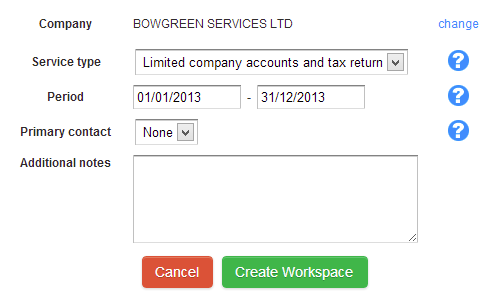
You can choose the type of service being provided along with an accounting period and primary contact. Here is a brief description of the fields on the new Workspace dialogue.
Service type
This menu will include the services mentioned previously. We will eventually allow for custom services to be created within your account.
Period
Here you would enter the accounting period for which the aforementioned service is being supplied.
Primary Contact
This is the main contact with whom you intend to communicate on this case.
The Workspace area
Once you have created a new Workspace you will see something like this:
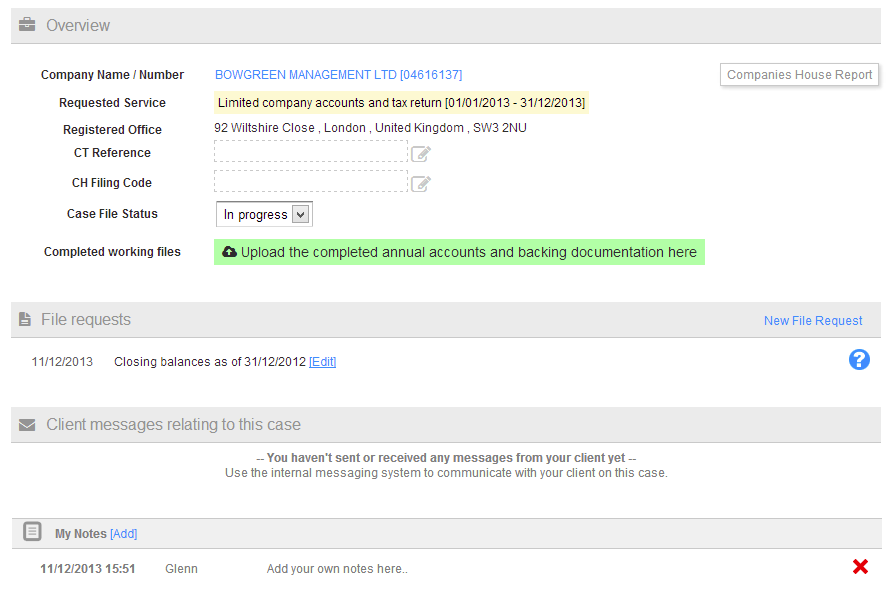
Your client will also see a slightly different version of this Workspace area where they can upload files, send messages to you and complete a number of predefined fields such as Corporation Tax Reference number, Companies House authentication code (for Limited companies), NI number and UTR Reference (Sole traders).
Requesting files from your clients
Once a new Workspace has been established you may want to request some documentation from your client. You can do this by first clicking on the ‘New file request’ link.

The proceeding form will allow you to enter a short description of the file required as well as a more detailed description. You can also specify what file types are permissible.
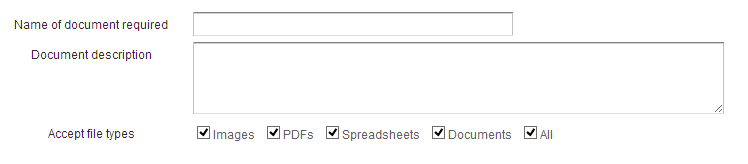
Your account will come with some predefined templates that you can directly import to this screen to save you having to retype common file requests. The templates (discussed later in this guide) can also incorporate mail merge tokens so that the relevant information gets embedded in the file name and description.
Sending messages to your clients
Affinity uses a built in messaging system that allows you to communicate directly with your clients. When used in conjunction with an active workspace you can organise all your related messages in one place. You can send a new message to your client from the Workspace by clicking on the ‘New message’ link.
![]()
You can also use your own custom templates when messaging clients for routine correspondence. This feature is discussed further on in the guide.
Using templates for common messages and file requests
When working with clients it’s often necessary to send routine messages and requests. Affinity comes with a built-in template system where you can create your own custom file requests and messages. We bundle in a few common templates that you can start using straight away but you can also create your own.
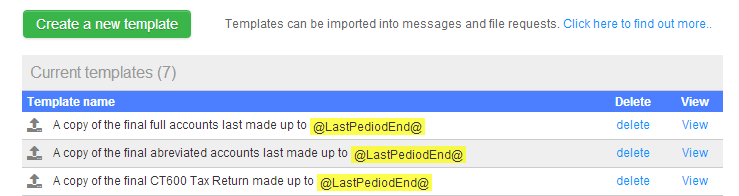
The templating tool supports the use of mail-merge style tokens thus allowing your messages to be personalised or furnished with specific information relating to a Workspace. To create a new template click on the green template button on the overview screen.
We currently support two different types of template.
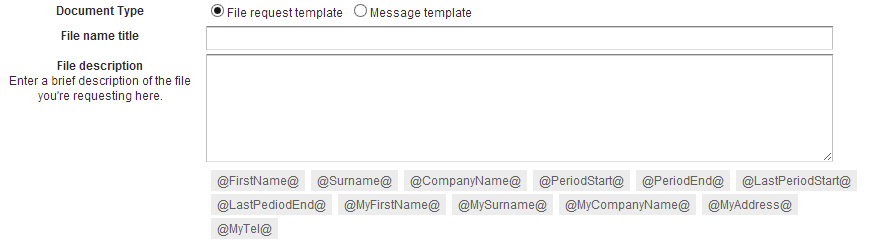
1. File request templates
These can be used in the file request section of any Workspace. This template is ideal for when you’re routinely requesting certain documents from your clients such as trial balances, previous accounts, bank statements etc. You can use the @PeriodStart@ and @PeriodEnd@ mail-merge tokens for added clarity.2. Message templates
Message templates can be imported from the built in messaging system within QuickFile. Use these templates to create your own introductory messages, updates and advisory messages.Mail-merge tokens
When you’re creating a new template you will see a list of supported mail-merge tokens you can use. This tokens will be dynamically replaced when the template is imported elsewhere in the system. Mail-merge tokens offer a useful way to customise messages and file requests.
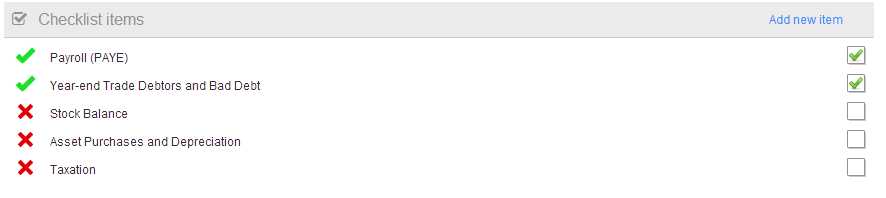
Checklist Items
For limited company year-end cases you can also use a number of pre-built forms to verify and gather information from your client. These checklist items allow the client to provide payroll figures, stock balances as well as confirm their year-end debtors and creditors. You can find out more about checklist forms here.