Adding a prepayment
Occasionally you may need to enter a credit for a client or supplier, and these are often referred to as prepayments. Such credits can be offset against future invoices that you enter on QuickFile. Here is a brief summary on entering prepayments and applying them to future invoices.
1. You can enter a credit not by first going to the supplier or client detail screen. In this example we will search for the client on the dashboard.

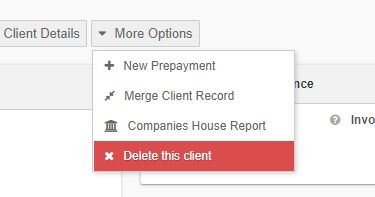
2. Within the client detail screen you will see an option for ‘New Prepayment’ under the More Options menu. Click this option to enter details of your prepayment.
3. You can now enter the prepayment amount, date, receiving bank account and payment method.
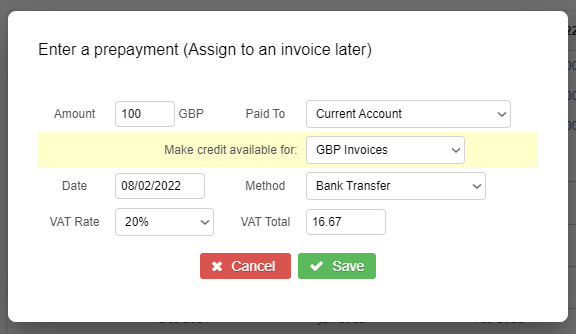
4. Click to save the credit. This will create a corresponding entry on your nominated bank account and the funds are now available to use against any future invoices you raise for this client.
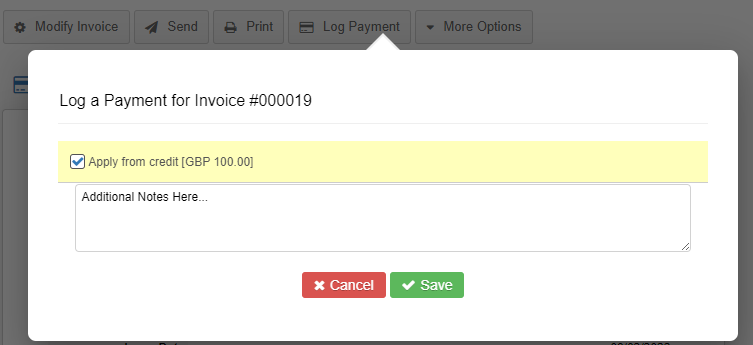
5. You can now locate an unpaid or partially paid invoice for this client. When you click on the ‘Log Payment’ button you will see a yellow band highlighting the available credit previously entered. If the credit is not sufficient to cover the invoice balance you can also add an additional payment here to make up the difference.
That’s all there is to it! The process is exactly the same for suppliers. VAT is levied on client/supplier prepayments, any unallocated credits will be included on your VAT returns.