
Customising your client area
QuickFile can host a fully branded client area on your own QuickFile domain. The client area is designed to let your clients view their invoices, access a statement of their account, print their documents and pay online. It also includes an estimate preview and an accept or decline option, which is useful if your business often provides quotes.
This guide shows how to set the colour theme, logo, horizontal menu and footer. It then shows how to check the result as a client.
Prefer to watch?
Prefer a video walkthrough? Watch our Customising Your Client Area in QuickFile: Branding & Advanced Options tutorial on the QuickFile Help Guides YouTube channel.

Before you start
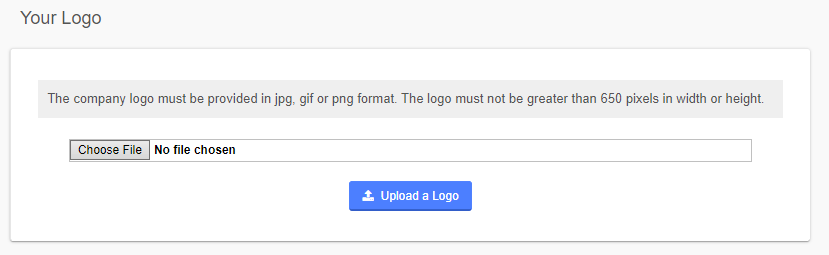
- A logo file in jpg, gif or png format, no larger than 650 pixels wide or high (optional).
- A client record with a contact name and email address, if you want to check the client area as that client.
Open the Client Area Designer
The Client Area Designer is where you set up the look of your client area.
- Click Account Settings in the top menu.
- Click System design.
- Click Design Settings.
- Click Client Area Customisation.

The designer has four sections: Colour Theme, Your Logo, Horizontal Menu and Footer. Save your changes when you have finished, as described in Save your changes below.
Set the colour theme
- Under Colour Theme, click Set custom colour.
- In the Dark box, enter a colour code. You can also pick a colour on the colour wheel or choose one from Choose from a preset colour.

Please note: Choose a dark colour. The white menu text needs a dark background to stay legible.
Upload your logo
- Under Your Logo, click Upload a Logo.
- Choose a logo file in jpg, gif or png format. It must be no larger than 650 pixels in width or height.
- Save your changes, as described in Save your changes below.
Add horizontal menu links
You can add up to six links to the horizontal menu. Use them to link to your own website or customer management system.
-
Tick Include horizontal menu system.

-
In Item Label 1, type the text for the link. The label can be up to 20 characters.
-
In URL, type the full web address. The box starts with https://. The address can be up to 200 characters.
-
To add another link, click Add a new menu item.
Please note: The menu form has no option to open a link in a new tab.
Test each link after you save your changes.
Add footer text
-
Under Footer, click in the text box.

-
Type the text you want to show in the footer.
Save your changes
- Click Save Banners.
- In the confirmation, click OK.
The confirmation asks you: Are you sure you want to save your changes?
Check your changes as a client
You can open a client’s area with Impersonate Client. The client needs a saved contact name and email address first.
-
Open Clients and click the client you want to check.
-
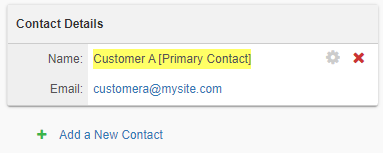
Check that Contact Details shows a name and an email address for the client.
-
Click Impersonate Client at the top of the client record.

-
Look at the client area to check your changes.
-
To go back to the client record in your own account, click the Administrator mode bar at the top of the screen.
Please note: A client needs a contact name and email address to get access to the branded client area.
Customise your invoices
You can also customise the design and layout of your sales invoices. See Customising your invoice design.
Customise the advanced templates
If you want more control over the look of your client area, and you are confident with CSS and HTML, you can edit the base templates in Advanced Customisation. For an overview, see Advanced Customisation Tools.
- Click Account Settings.
- Click Design Settings.
- Click Design Management.
- Click Advanced CSS & HTML Customisation.
The page has two tabs: Preset Templates and HTML Snippets. The Preset Templates tab lists 12 templates, including Global CSS, Client Area CSS, Client Area Header HTML and Client Area Footer HTML.
Troubleshooting
My changes do not show in the client area.
Click Save Banners, then click OK. Reopen the Client Area Designer and check that your changes are still there.
I see the message “Please enter a label for this menu item”.
Type a label in Item Label for every menu item you add. Each menu item needs a label.
I cannot open the client area for a client.
Check that the client has a contact name and email address in Contact Details. Add them to the client record, then click Impersonate Client again.
Related topics
For the advanced templates, start with Advanced Customisation Tools for an overview of each template and how to use the editor.
- Advanced Customisation Tools: An overview of the advanced templates and how to use the editor.
- Client area header and footer HTML: Replace the client area header with your own HTML, and set up the footer.
- Client area CSS: Style the client area with CSS, and check the result in a private browser window.
- Customising your invoice design: Change the design and layout of your sales invoices.
- Client area customisations don’t save (community discussion): A staff answer about logo and colour changes not sticking, and the Save Banners button.