ML Verify - AML/KYC Management System
ML Verify is a cloud based Anti-Money Laundering (AML), Client Due Diligence (CDD) platform. If your business is required to carry out identity checks and monitor risk for new and existing clients, ML Verify.com can help streamline these tasks.
ML Verify allows you to build your own automated client screening procedures for requesting ID documents and gathering client information for risk assessment.
- Create custom requests for obtaining ID documents.
- Provide your clients with a dedicated upload area for document delivery
- Integrates with Companies House for identifying company structure and beneficial ownership information.
- Run electronic identity checks against electoral register and credit reference data.
- Automatically cross-checks against PEP and Sanction data sets.
Affinity and ML Verify
Once you have linked your ML Verify account to Affinity, your client risk status and document requests will appear in the profile detail screen for each linked Affinity profile.

For new clients you will be able to quickly create a client record on ML Verify and automatically import the People with Significant Control (PSCs) from Companies House records.
Sign up to ML Verify using promo code QUICKFILE10 for £10 free credit for enhanced checks
Link your ML Verify account to Affinity
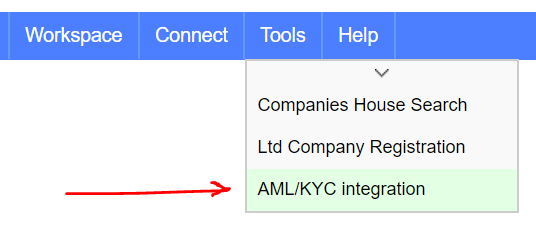
In order for Affinity to communicate with your ML Verify account, you will need to obtain your API Key and Secret, then input that into Affinity. The integration screen for ML Verify can be found in the “Tools” menu, under “AML/KYC Integration”.
Scroll down to the bottom and click the option “Connect your ML Verify Account to Affinity”. You will then be able to enter your API Key and Secret, which can be retrieved in the Settings area of your MLVerify.com account.
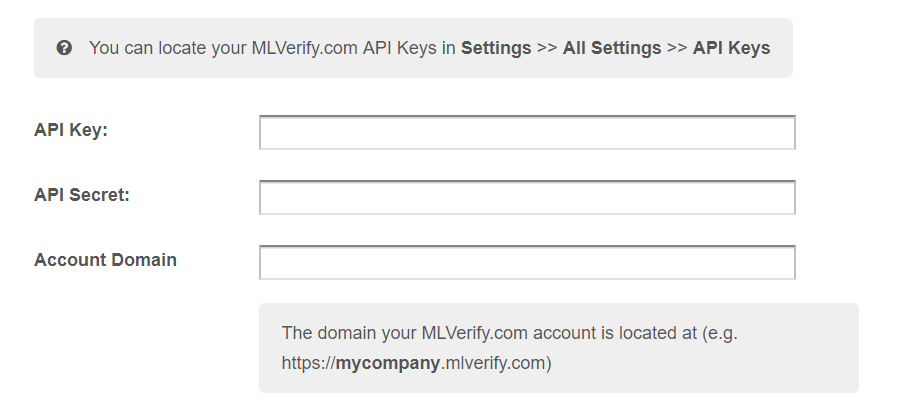
Once you submit this information we will attempt a test connection to your account and all going well, you will see a message confirming that the accounts have been connected.
Creating and Linking to ML Verify Client Records
Once your accounts are connected, you will be able to see a new panel in all your managed Affinity profile detail screen. There will be two options, one to link an existing client, and one to create a new ML Verify client profile.
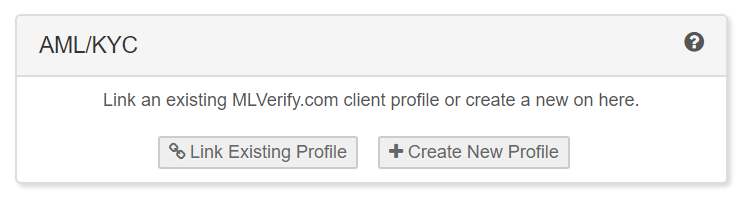
Using the “Link” option you will be able to perform a search of client names on your ML Verify account and then where applicable, link the matching record to the Affinity profile. If you don’t already have a corresponding client record you can use the “Create” button instead.
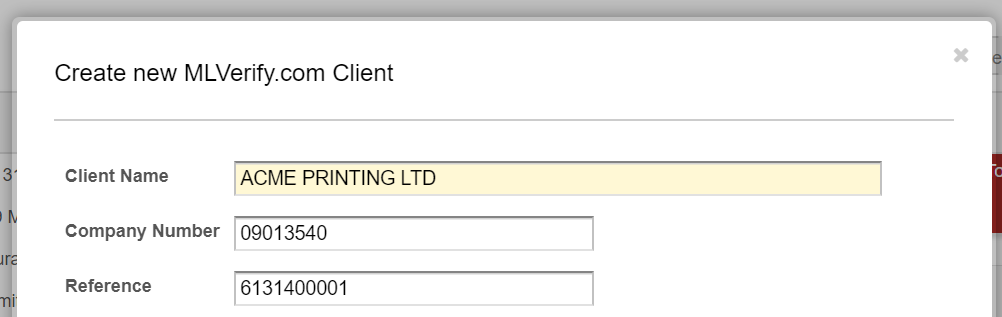
When you opt to create a new record a dialogue box will appear with the client information pre-populated. For Limited company type clients you will also find an option to have the People with Significant Control (PSCs) for that company automatically imported. Later you can then assign specific KYC requests to these individuals (e.g. passport and proof of address).
Once your client has been created you can then proceed to ML Verify to issue specific KYC item requests, these may include things like:
- A copy of the PSC’s passport
- A recent utility bill or bank statement as proof of address
- Custom questions, e.g. “What is the nature of your business?”
The client you are screening will receive a link to an upload area where the requested documentation may be supplied and questions answered.

Detaching ML Verify profiles from Affinity
For each client profile you link to Affinity you will see a small “Detach” button to disassociated it from your Affinity profile. This action simply removes the link, it will not delete or make any alterations to those client records on ML Verify