- Introduction
- Getting your receipts into the Hub
- Using the QuickFile app
- Dropbox integration
- Email us your receipts
- Direct upload
- Tagging my receipts once they are in the Hub
- Can I process general business documents in the Receipt Hub?
- Is there a limit to how many receipts I can upload to the Receipt Hub?
- Is there a limit to which document types can be uploaded?
The Receipt Hub
Introduction
As we move towards a paperless office, getting all those shoe boxed receipts into the cloud can be a challenge. Fortunately QuickFile has a solution..
The Receipt Hub is a collection of tools allowing you to import and organise all your paper receipts in the cloud. The Receipt Hub can interface with your mobile device, desktop and email to capture your receipts and centralise them ready for processing.
You can access the Receipt Hub directly from your Dashboard.
Getting your receipts into the Hub
There are a number of ways in which you can import receipts into the Receipt Hub. Let’s take a look one by one.
Using the QuickFile app
QuickFile comes with a free Android and iOS app that makes it dead simple to snap your receipts on the move and allocate them to your chosen supplier and nominal code.
Find out more about our mobile apps here
Dropbox integration
Link your Dropbox account to QuickFile and we will create a dedicated folder for you where you can simply drag and drop your receipts. The Dropbox desktop folder is extremely useful, any receipts that accumulate on your computer can just be dragged into Dropbox and within minutes they will appear in your Receipt Hub.
Click here to find out more about integrating Dropbox
Email us your receipts
Do you receive many of your invoices by email? Not a problem, just forward the emails to ‘receipts@quickfile.co.uk’ and we’ll drop them into your Receipt Hub. We’ll first look for any attachments or simply display the email body so that you can extract the pertinent information later. Before you can start using the email service you’ll need to first head over to the account settings area and tell us which email addresses you will be sending from. That way we’ll know where to route them.
Click here to find out more about email receipts to QuickFile
Direct upload
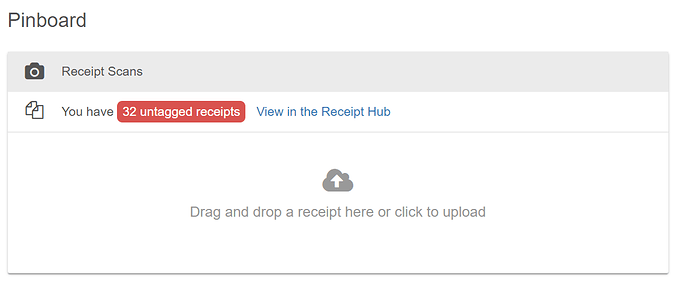
Upload your receipts directly within the Receipt Hub and start processing them right away.
Tagging my receipts once they are in the Hub
OK, so you’ve got your receipts uploaded into the Receipt Hub, what’s next? When the receipts first appear they will be untagged. Untagged means, we don’t know yet what they relate to.
You can click on the red button to start tagging.
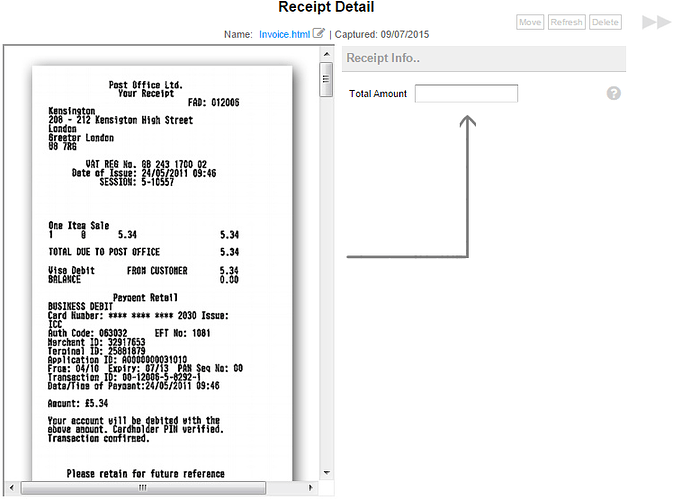
When you view a new receipt you will see a split screen similar to the one below:
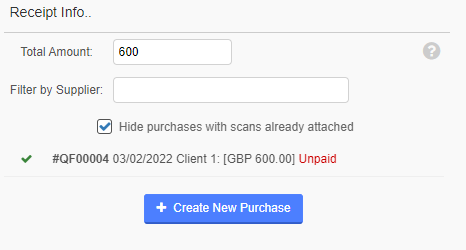
You can start by entering the amount on the receipt. QuickFile will scan your existing purchase receipts for a match. You can also filter the results to only show records for a given supplier.
If the receipt relates to a purchase you have already recorded in QuickFile, all you need to do is click on the matching item and the receipt image will be tagged to the purchase. If not then you can click the button to create a new purchase.
You will now be able to key in the relevant information while using the receipt image as a reference.
You can choose to leave the receipt unpaid, enter a new payment, or link it to an existing untagged bank transaction. Once you’ve saved your receipt you can consider it tagged, when you return to the Receipt Hub overview page the receipt will now be marked green.
Can I process general business documents in the Receipt Hub?
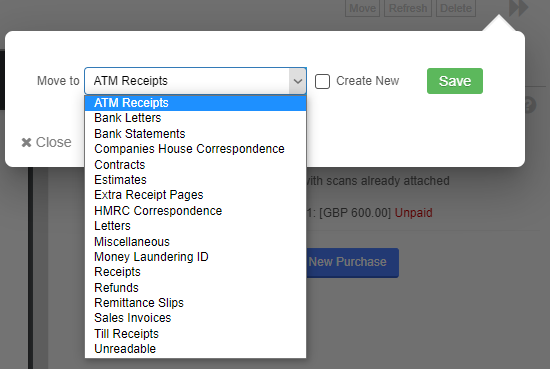
Yes, you can send whatever documents you like to the Receipt Hub. When you come to process a new document you will notice small set of buttons in the top right where you can move the item to another folder in the document manager. You can also delete an unwanted document or refresh the page.
In theory you can use the Receipt Hub to archive bank statements, letters, contracts, HMRC correspondence, remittance advice slips, whatever you may wish.
Is there a limit to how many receipts I can upload to the Receipt Hub?
Yes, we set a daily transfer limit of 262 MB. This is to keep the system running smoothly without any given user slowing down the service by uploading large volumes of data. You can read more about data limits here.
To maximise your data limit we strongly advise you to compress the documents that you will be uploading to the Receipt Hub.
Is there a limit to which document types can be uploaded?
We currently support the following document types:
- PDF documents
- Images (png, gif, jpg, tif)
- Word documents (Including RTF)
- Excel spreadsheets (Including CSV)
- Notepad documents
- HTML documents
Any other document types you email or upload to Dropbox will usually be ignored.


